How to Foundation Single Crochet: Beginner Step-by-Step
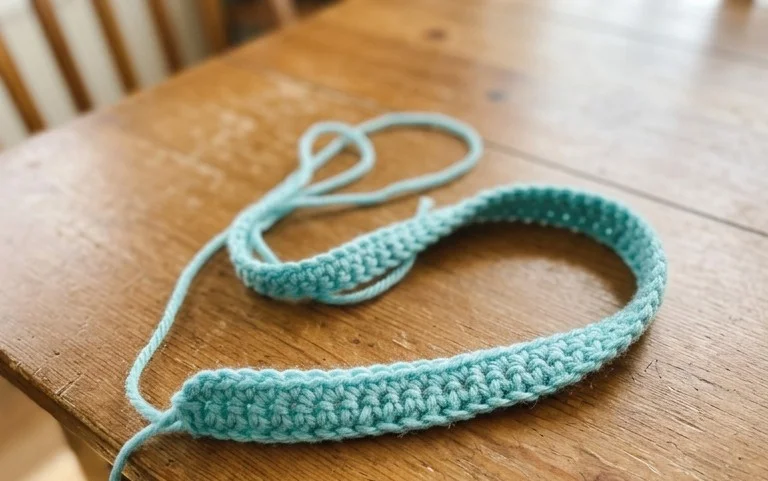
A smooth, elastic edge turns a stiff chain into a professional piece of work that sits flat and stretches just enough for garments. This method replaces the standard starting chain by building stitches directly into the foundation row, saving you from counting tiny loops and struggling with tight tension. You will find that your hands move faster once you stop fighting against a base that wants to curl or twist. This technique suits beginners who want cleaner edges on scarves or blankets while helping experienced makers finish projects with more uniform starting rows. Follow along as we break down every movement with close-up visuals to remove all the guesswork from your next yarn project.
Why You’ll Love This Pattern
This beginner-friendly crochet sphere pattern is the ideal starting point for anyone looking to master 3D amigurumi construction. Because it relies on basic single crochet stitches and simple increase and decrease sequences, you can finish a project in less than an hour. The circular shape provides a uniform, professional finish that works well as a base for toys, ornaments, or stress balls. You only need a small amount of leftover yarn, making this a practical way to clear out your craft bin while practicing tension control in the round.
I finally learned how to close a sphere without leaving a gaping hole in the middle. The instructions were very clear and the stitch counts matched up perfectly.
— Sarah, beginner crocheter
Pattern Overview & Skill Level
- Skill Level: Beginner
- Approximate Time: 45 minutes
- Construction: Worked in continuous spiral rounds using a magic ring for a seamless start and decrease rounds for shaping.
- Finished Dimensions: Approximately 3 inches in diameter using worsted weight yarn.
Materials & Supplies Needed
- Yarn: Worsted weight (#4) acrylic or cotton yarn, approximately 20 yards.
- Hook Size: 4.0 mm (G-6) crochet hook to ensure tight stitches that keep stuffing from showing.
- Notions: Fiberfill stuffing, tapestry needle for weaving in ends, and a locking stitch marker to track the start of each round.
- Safe yarn substitutions: You can use DK weight yarn with a 3.5 mm hook for a smaller sphere, or bulky weight yarn with a 5.5 mm hook for a larger, softer version. Adjusting weight will change the final diameter of the sphere.
Stitch Guide & Abbreviations (US Terms)
- MR: Magic Ring. A method to start a project by wrapping yarn around your fingers to create a secure, adjustable starting loop.
- ch: Chain.
- sc: Single crochet. Insert hook into stitch, yarn over, pull up a loop, yarn over, pull through both loops on hook.
- inc: Increase. Work 2 sc into the same stitch to increase the stitch count.
- dec: Decrease (sc2tog). Insert hook into front loop of next two stitches, yarn over, pull through both loops, yarn over, pull through remaining two loops.
- st/sts: Stitch/stitches.
Step-by-Step Pattern Instructions
Sphere Body
- Rnd 1: Work 6 sc into a magic ring (6 sts).
- Rnd 2: Work 2 sc in each st around (12 sts).
- Rnd 3: [1 sc in next st, inc in next st] 6 times (18 sts).
- Rnd 4: [1 sc in next 2 sts, inc in next st] 6 times (24 sts).
- Rnd 5: [1 sc in next 3 sts, inc in next st] 6 times (30 sts).
- Rnds 6–10: Sc in each st around (30 sts).
- Rnd 11: [1 sc in next 3 sts, dec in next st] 6 times (24 sts).
- Rnd 12: [1 sc in next 2 sts, dec in next st] 6 times (18 sts).
- Rnd 13: [1 sc in next st, dec in next st] 6 times (12 sts).
- Rnd 14: [dec] 6 times (6 sts).
Finishing
Cut the yarn leaving a 6-inch tail. Pull the tail through the final loop. Use your tapestry needle to weave the tail through the front loops of the remaining 6 stitches. Pull tight to close the hole securely and knot the yarn inside the sphere. Before completing the final round, ensure the sphere is firmly packed with fiberfill to maintain its shape.
Care & Washing Instructions
- Machine wash on a gentle cycle in cold water using a mesh laundry bag.
- Lay the sphere flat on a towel to air dry, reshaping it with your hands if it compresses during the wash.
- Do not iron or bleach, as this will damage synthetic or natural fibers and cause the stuffing to clump.
Pro Tips & Common Mistakes to Avoid
Keep your tension consistent throughout the piece; if your stitches are too loose, the fiberfill stuffing will be visible through the gaps. Always place a stitch marker in the first stitch of every round to avoid losing your place, especially during the decrease rounds. When weaving in your ends, run the needle through the center of the sphere several times to bury the tail deep inside the stuffing for an invisible finish. You can adjust the size of the sphere by adding or removing increase rounds, but remember that each additional round increases the total stitch count by 6.
Frequently Asked Questions
Can I use a different yarn weight for this pattern?
Yes, you can use any yarn weight. Keep in mind that using a thinner yarn requires a smaller hook size, while a thicker yarn requires a larger hook. The finished size will change accordingly.
Is this pattern suitable for complete beginners?
Absolutely. It focuses on the most fundamental stitches in crochet and uses a simple, repetitive structure that helps you practice counting stitches and identifying round transitions.
How do I prevent the fiberfill from showing through the gaps?
The most effective method is to use a hook size smaller than what is recommended on your yarn label. This creates a tighter, denser fabric that locks the stuffing inside.
Can I sell the items I make from this pattern?
You are welcome to sell finished items made from this pattern as long as you credit the original design. Please use your own photos rather than the ones provided here.
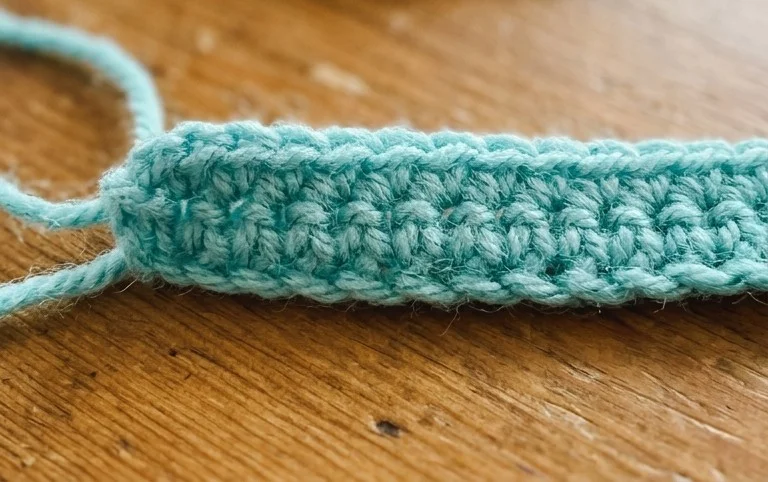
Your finished row now has a tidy, uniform look that serves as a solid base for any garment or accessory you want to build. You might consider using a contrasting color of scrap yarn to practice this foundation row until your movements feel consistent and relaxed. If you enjoyed building these stitches, please share a picture of your progress on social media so others can see your success. There are many more guides and stitch tutorials available throughout this blog if you need help with your next design or want to master more advanced construction methods.