How to Crochet a Double Thick Hot Pad: Free Pattern
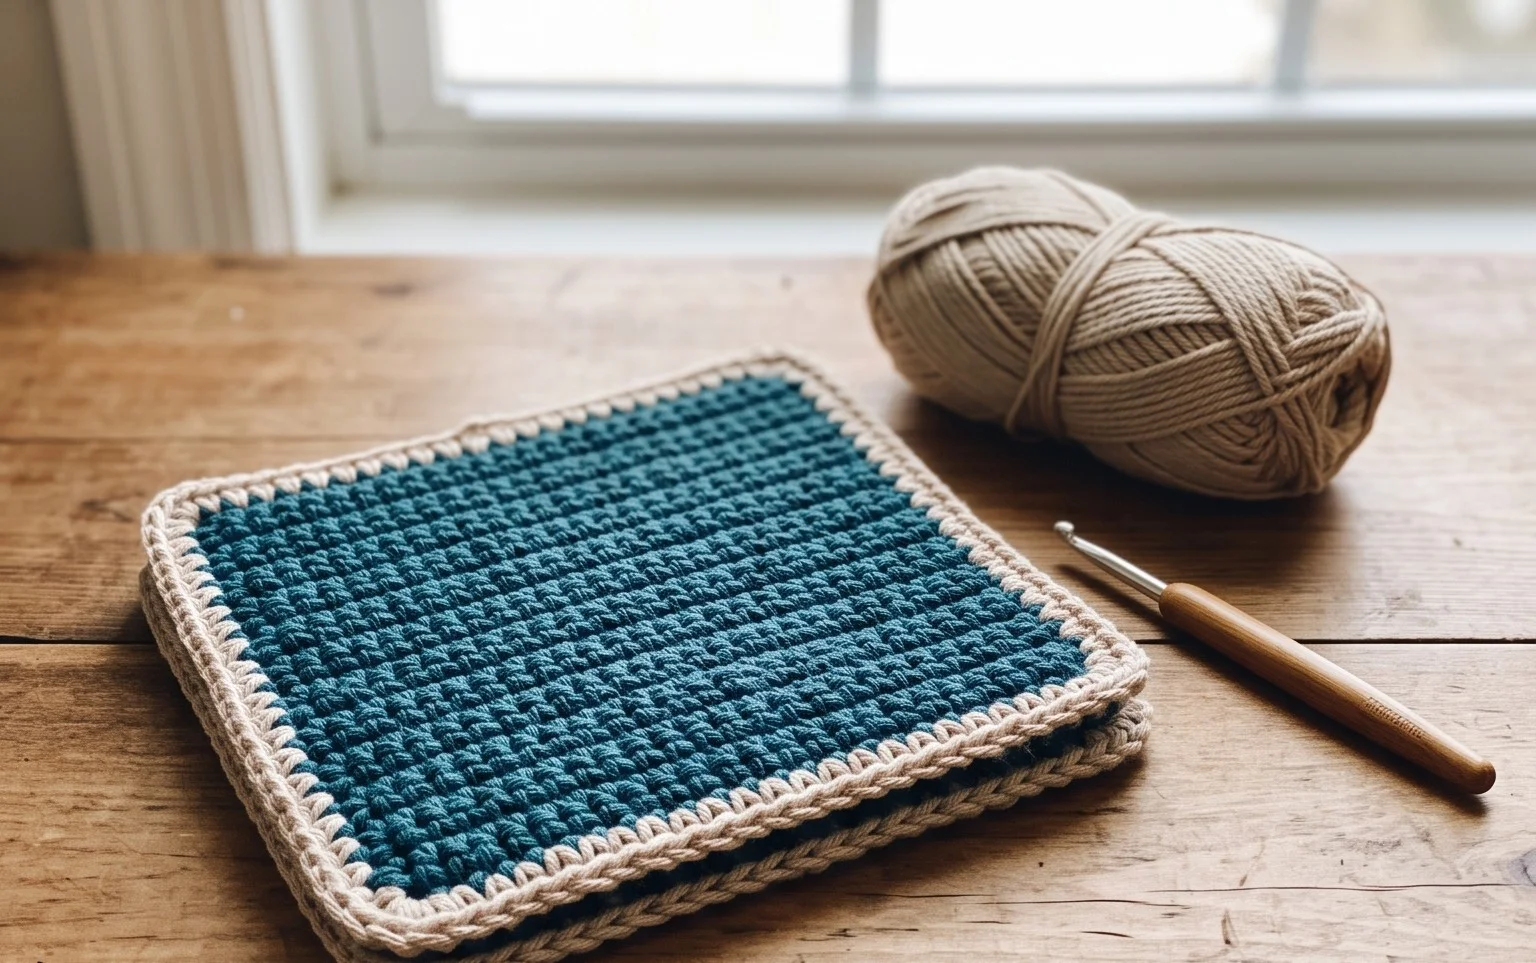
Cotton yarn worked in tight, overlapping rows creates a dense fabric that keeps your granite countertops protected from heavy cast iron skillets. This double thick hot pad provides peace of mind when you move boiling pots from the stove to the dining table. Beginners enjoy this project because it relies on simple foundation stitches to build a reliable, heat-resistant barrier that stays flat and does not curl. You will learn how to create a thermal stitch effect that doubles the thickness of the material without adding unnecessary bulk. This project creates a gift that feels substantial and lasts for many years of heavy kitchen use.
Why You’ll Love This Pattern
The Classic Crochet Storage Basket is a functional home accessory designed to hold everything from yarn balls to small household items. It uses a sturdy construction method that allows the sides to stand up on their own without the need for additional stiffeners or cardboard inserts. The tight gauge created by holding two strands of yarn together ensures that the basket maintains its shape even when filled with heavier objects. Because it relies on basic stitches like the single crochet, it is a relaxing, repetitive project that moves quickly, making it a reliable choice for last-minute gifts.
I finished this basket over a single weekend. It holds all my current crochet projects perfectly and looks much cleaner than the plastic bins I was using before.
— Sarah, home organizer
Pattern Overview & Skill Level
- Skill Level: Beginner
- Approximate Time: 3 to 4 hours
- Construction: Worked in continuous rounds from a flat circular base upward to the sides
- Finished Dimensions: 8 inches in diameter and 6 inches in height
Materials & Supplies Needed
- Yarn: Worsted weight (#4), 100% cotton yarn. You will need approximately 350 yards total. Hold two strands of yarn together throughout the entire project.
- Hook Size: 6.0 mm (J-10)
- Notions: Stitch markers, tapestry needle, scissors
- Safe Yarn Substitutions: Acrylic worsted weight yarn can be used, though the resulting basket will be slightly less rigid and more prone to stretching than cotton.
Stitch Guide & Abbreviations (US Terms)
- MR = Magic Ring
- ch = chain
- st = stitch
- sc = single crochet
- inc = 2 sc in the same stitch
- sl st = slip stitch
- BLO = Back Loop Only: Insert hook only under the back loop of the stitch
- rnd = round
Step-by-Step Pattern Instructions
Basket Base
Work in a continuous spiral. Place a stitch marker in the first stitch of every round to keep track of your position.
- Rnd 1: Start with a MR, work 6 sc into the ring. (6 sts)
- Rnd 2: Inc in each st around. (12 sts)
- Rnd 3: [Inc, 1 sc] repeat 6 times. (18 sts)
- Rnd 4: [Inc, 2 sc] repeat 6 times. (24 sts)
- Rnd 5: [Inc, 3 sc] repeat 6 times. (30 sts)
- Rnd 6: [Inc, 4 sc] repeat 6 times. (36 sts)
- Rnd 7: [Inc, 5 sc] repeat 6 times. (42 sts)
- Rnd 8: [Inc, 6 sc] repeat 6 times. (48 sts)
Basket Sides
The transition from the flat base to the vertical sides occurs here by working into the back loops only.
- Rnd 9: Sc in BLO of every st around. (48 sts)
- Rnd 10-22: Sc in both loops of every st around. (48 sts)
Finishing
- Work a final round of slip stitches into every stitch to create a clean, reinforced edge.
- Fasten off, leaving a 6-inch tail.
- Weave the tail securely into the interior of the basket using a tapestry needle.
- Trim any excess yarn close to the fabric to ensure a neat finish.
Care & Washing Instructions
- Machine wash on a gentle cycle in cold water to prevent shrinking.
- Reshape the basket while damp and lay it flat on a towel to air dry completely.
- Avoid using a tumble dryer, as high heat can damage the structure and cause the yarn to lose its natural tension.
Pro Tips & Common Mistakes to Avoid
Maintain consistent tension throughout the project by ensuring that both strands of yarn are fed through your fingers with equal pressure. If your stitches appear loose, switch to a smaller hook size to increase the density of the fabric. Use a locking stitch marker at the start of each round to avoid losing your place, especially since continuous rounds can be difficult to count visually after several inches of height. When weaving in your ends, run the needle through the stitches in multiple directions to ensure the tail does not pull out over time. If you wish to make the basket larger, increase the diameter of the base by continuing the standard circular increase pattern for additional rounds, keeping in mind that this will significantly increase the amount of yarn required.
Frequently Asked Questions
Can I use a single strand of chunky yarn instead of two strands of worsted?
Yes, you can substitute a single strand of bulky or chunky weight yarn. Ensure you check your gauge against the finished dimensions, as a single thicker strand may result in a slightly different stiffness.
Is this pattern suitable for someone who has just learned to crochet?
Yes, this project is ideal for beginners. It relies exclusively on single crochet stitches and basic increases, providing excellent practice for maintaining even tension and working in the round.
How can I adjust the height of the basket?
To make the basket taller or shorter, simply add or subtract rounds from the side section (Rounds 10-22). Each additional round will add approximately 0.25 inches to the total height.
Can I sell the baskets I make from this pattern?
You are welcome to sell finished items made from this pattern. I ask that you provide credit to the designer by linking back to this tutorial in your shop listings.
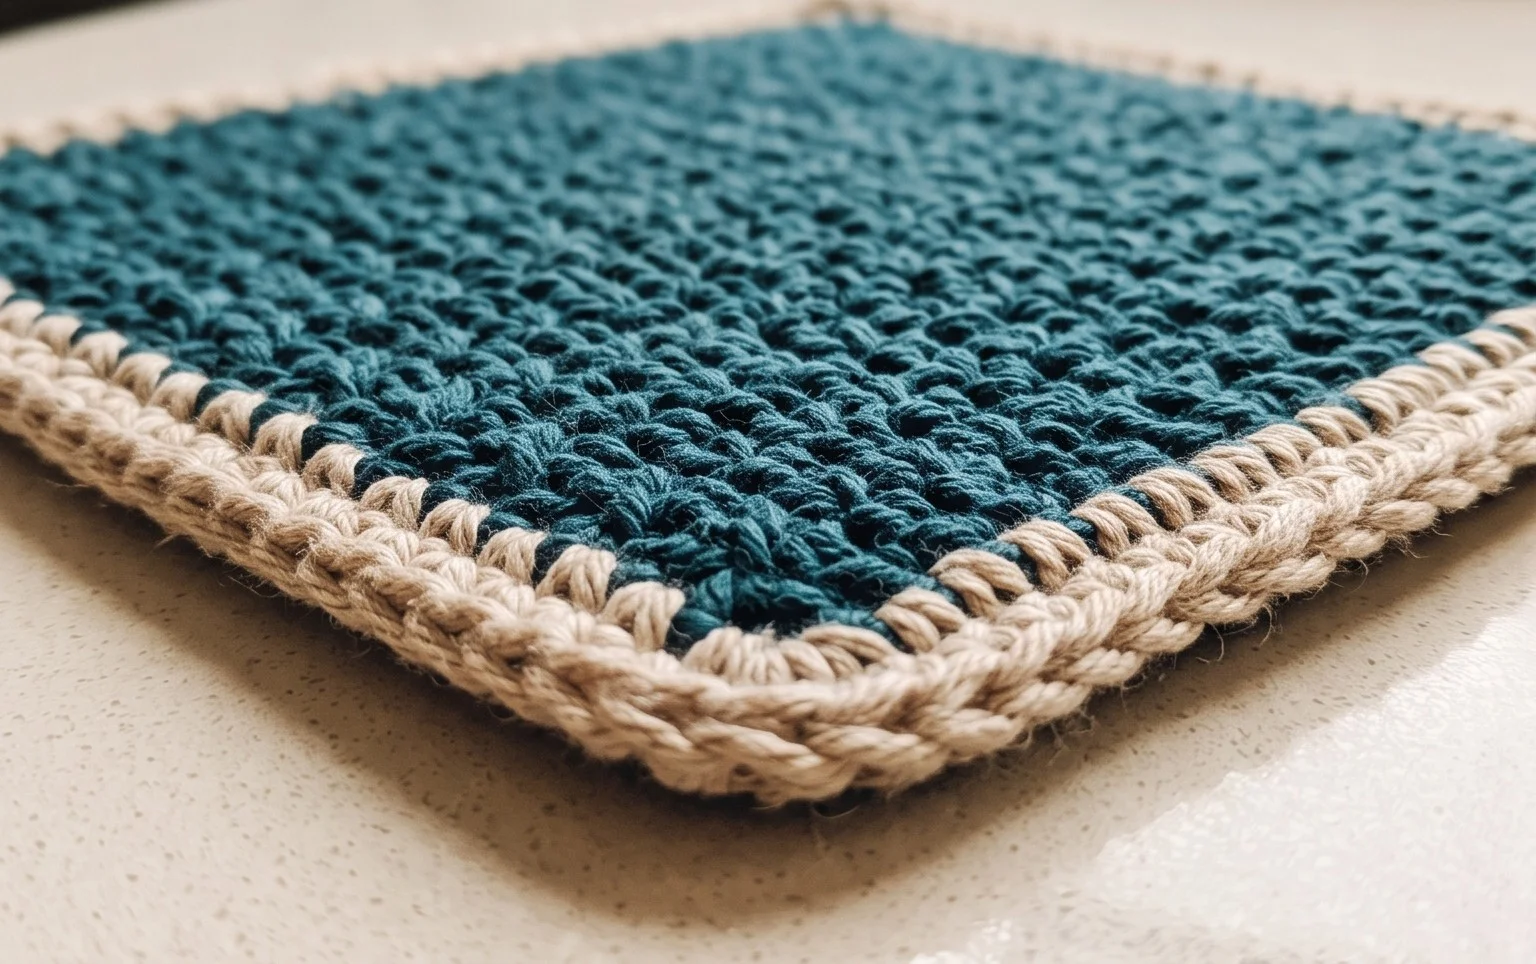
Your finished thermal kitchen accessory stands ready to protect your home surfaces from the hottest pans in your collection. You might consider using a variegated cotton yarn for your next version to create a subtle shift in color throughout the project. Please take a photo of your work and share it on your favorite social media platform so others can see your color choices. You will find several other functional kitchen patterns available on my blog if you find yourself needing more housewarming gifts or accessories for your own stove area.