10 Easy Crochet Square Patterns: Free Step-by-Step Guide
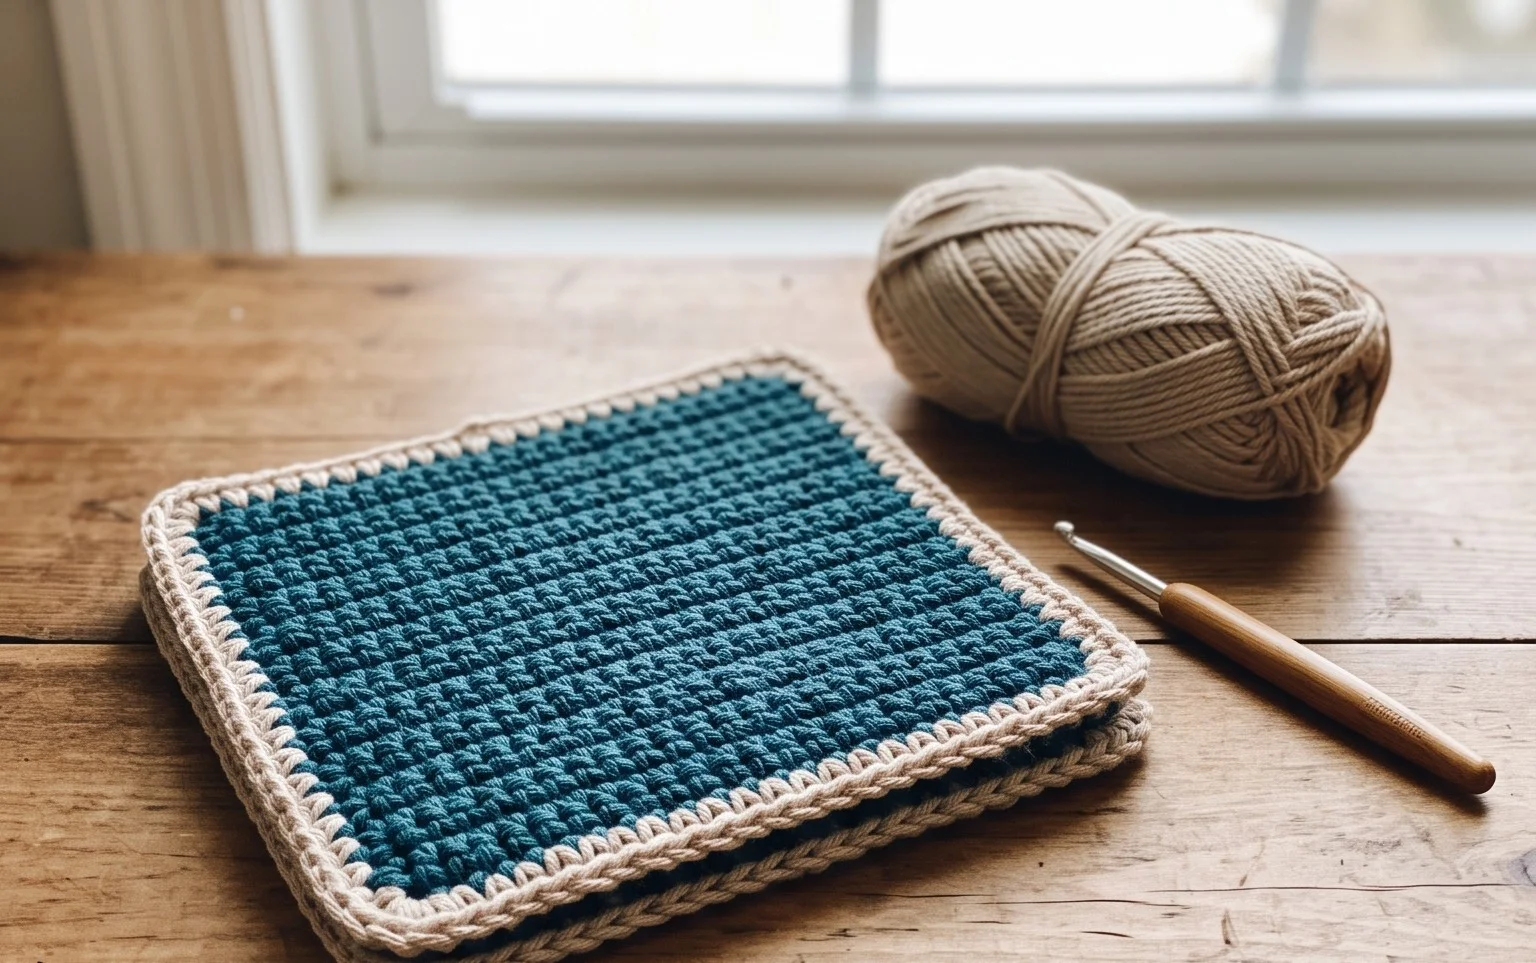
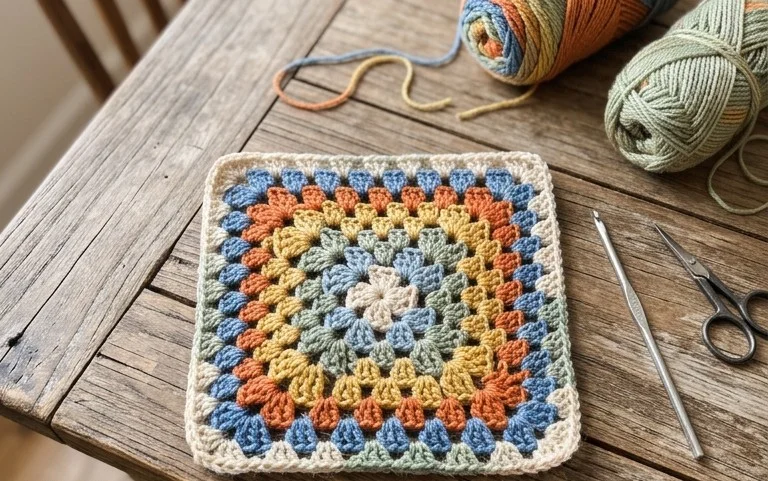
A simple handmade square feels sturdy and dense in your hand, offering the satisfying weight of high-quality cotton yarn while working up into a uniform shape. These pieces suit beginners who want to practice tension control, as well as home decor lovers building personalized afghans from a variety of colorful blocks. You learn how to maintain straight edges and consistent corners, which keeps your finished projects looking tidy and professional. Whether you need a quick gift or a meditative activity for a rainy afternoon, these motifs provide a rewarding structure that builds confidence with every completed row.
Why You’ll Love This Pattern
This beginner-friendly crochet heart is a classic project that relies on simple shaping and minimal assembly. It is an ideal weekend activity because it uses less than 20 yards of worsted weight yarn, making it a perfect scrap-busting project. The construction involves creating two small cups that are joined together in the center to form a cohesive heart shape, which provides a satisfying introduction to working in the round and closing off stuffed pieces. Because the pattern works up in about 30 minutes, it is an efficient choice for creating last-minute gifts, party favors, or sentimental additions to larger projects like blankets or wreaths.
I managed to finish three of these hearts in one sitting while watching a movie. The instructions were easy to follow and the join was much simpler than I expected.
— Sarah, hobbyist crafter
Pattern Overview & Skill Level
- Skill Level: Beginner
- Approximate Time: 30 to 45 minutes
- Construction: Two separate cups worked in continuous rounds, joined at the final round, then worked together to create the base.
- Finished Dimensions & Sizing: Approximately 3 inches wide by 3 inches tall, depending on yarn tension.
Materials & Supplies Needed
- Yarn: Worsted weight (#4) acrylic or cotton yarn. Approximately 15 yards per heart.
- Hook Size: 4.0 mm (G-6) crochet hook for a tight, professional finish.
- Notions: Tapestry needle for weaving ends, fiberfill stuffing, and a stitch marker to track the start of rounds.
- Safe Yarn Substitutions: Using a DK weight yarn with a 3.5 mm hook will result in a smaller heart, while bulky weight yarn with a 5.5 mm hook will produce a larger, squishier heart. Adjust the stuffing amount accordingly if you change sizes.
Stitch Guide & Abbreviations (US Terms)
- MR: Magic ring
- ch: Chain
- sc: Single crochet
- inc: Increase (work 2 sc in the same stitch)
- dec: Decrease (sc2tog; insert hook into next two stitches, yarn over, pull through, yarn over, pull through all loops on hook)
- sl st: Slip stitch
- st/sts: Stitch/stitches
Step-by-Step Pattern Instructions
Cups (Make 2)
- Rnd 1: Work 6 sc into a magic ring (6 sts).
- Rnd 2: Work 2 sc in each st around (12 sts).
- Rnd 3: [1 sc, inc] repeat 6 times (18 sts).
- Rnd 4: 1 sc in each st around (18 sts).
- Fasten off the first cup. Do not fasten off the second cup.
Joining the Heart
- Rnd 5: Hold the two cups side by side. Insert your hook into the next stitch of the first cup (the one you fastened off) and work a sc to join. Work 17 more sc around the first cup, then work 18 sc around the second cup (36 sts).
- Rnd 6: [4 sc, dec] repeat 6 times (30 sts).
- Rnd 7: [3 sc, dec] repeat 6 times (24 sts).
- Rnd 8: [2 sc, dec] repeat 6 times (18 sts). Start adding fiberfill stuffing now.
- Rnd 9: [1 sc, dec] repeat 6 times (12 sts). Add more stuffing to ensure the heart is firm.
- Rnd 10: [dec] repeat 6 times (6 sts).
Finishing
Cut the yarn leaving a 6-inch tail. Thread the tail through a tapestry needle and weave it through the front loops of the remaining 6 stitches. Pull tight to close the hole securely. Weave the remaining end into the center of the heart and trim any excess yarn.
Care & Washing Instructions
- Hand wash your finished heart in cool water with a mild detergent to keep the shape intact.
- Lay the piece flat on a clean towel to air dry completely, as hanging can cause the stuffing to shift.
- If the heart becomes misshapen after handling, gently roll it between your palms to redistribute the fiberfill and restore its original form.
Pro Tips & Common Mistakes to Avoid
- Maintain a consistent tension throughout the project to ensure the heart holds its shape and the stuffing does not poke through the gaps.
- Always place a stitch marker in the first stitch of every round to keep an accurate count, as working in continuous rounds can make it easy to lose your place.
- When weaving in ends, run the tail through the center of the stuffing rather than the outer surface to keep your finishing work invisible.
- To adjust the size of the heart, simply increase the number of rounds in the cups before joining; note that doing so will require more yarn and proportionally more fiberfill.
Frequently Asked Questions
Can I use a different weight of yarn for this pattern?
Yes, you can substitute the yarn weight, but be sure to choose a hook size that is smaller than what is recommended on the yarn label. This ensures your stitches are tight enough so that the fiberfill stuffing does not show through.
Is this project suitable for absolute beginners?
This is a great first amigurumi project. It covers all the essential techniques, including the magic ring, increasing, decreasing, and joining two separate pieces into one.
How do I keep the stuffing from clumping inside?
Use small pieces of fiberfill rather than one large chunk. Teasing the stuffing apart with your fingers before inserting it into the heart creates a smoother, more even shape.
Am I allowed to sell the hearts I make from this pattern?
You are welcome to sell finished items made from this pattern, provided you credit the source. Please check the individual designer’s terms or website policy for any specific constraints regarding mass production.
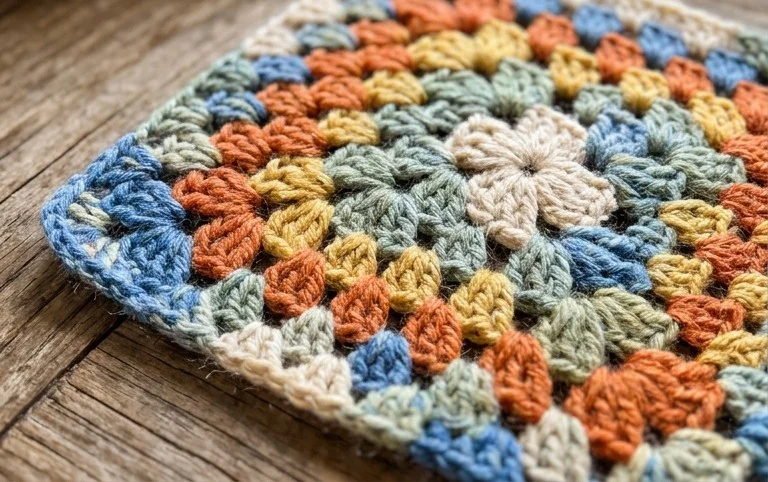
Seeing your stack of finished squares grow creates a real sense of accomplishment after those hours of focused stitching. You might try swapping the traditional worsted weight wool for a variegated cotton blend to give each piece a distinct, painterly look that really stands out in a finished throw blanket. Upload a photo of your progress to social media so others can see your color combinations, and browse the rest of the blog for more free patterns to expand your current collection of handmade goods.