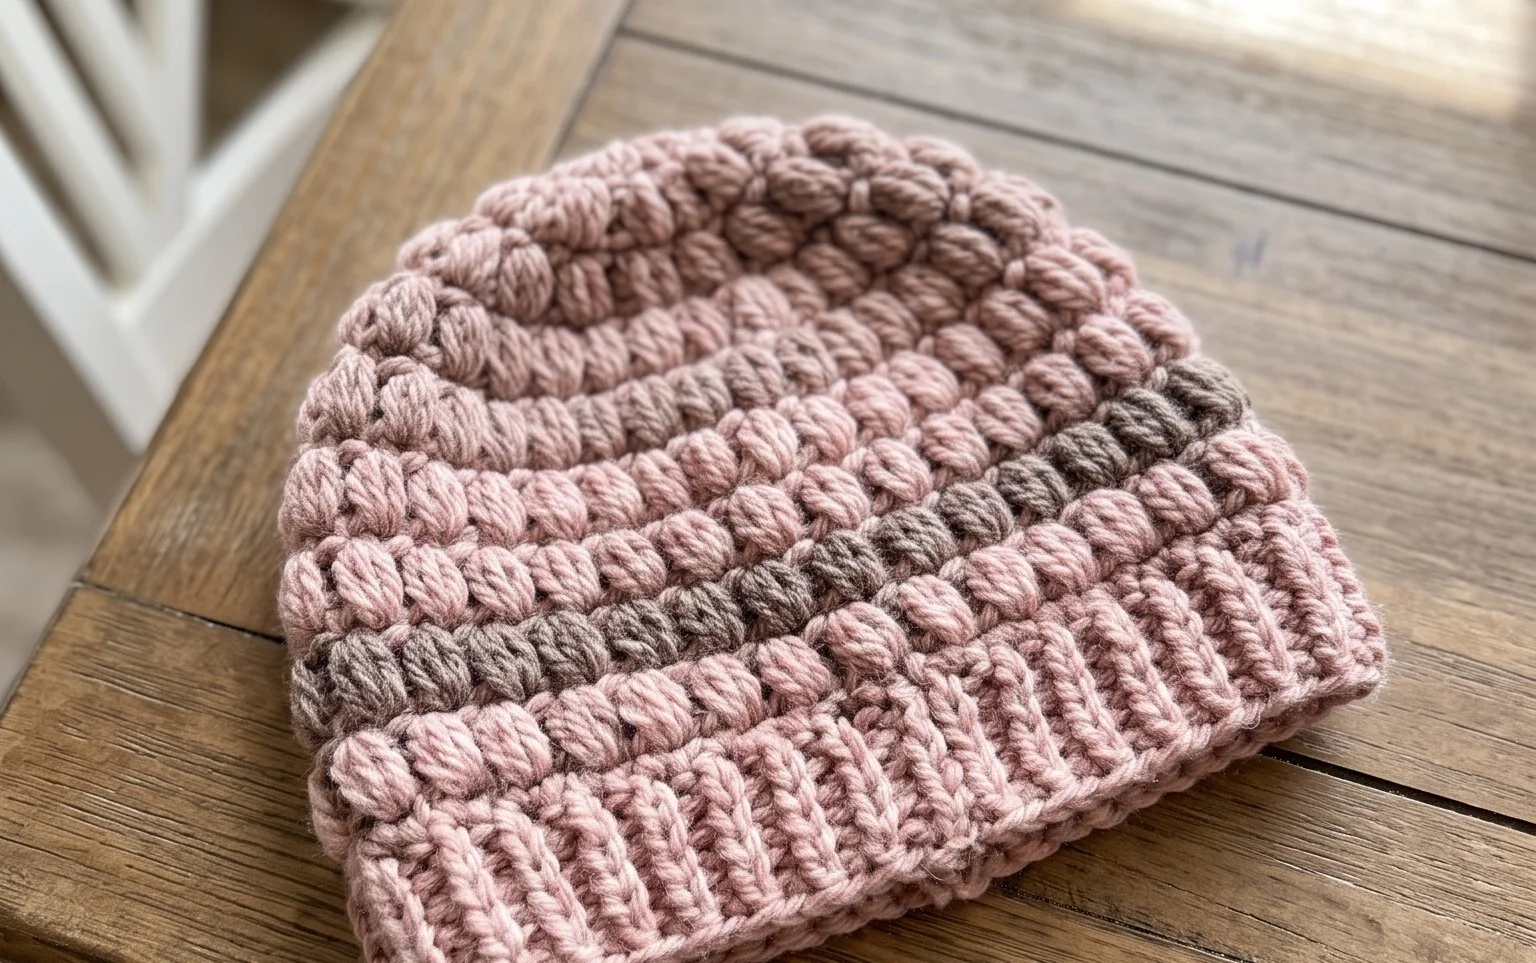
Coffee Bean Slouchy Beanie: Free Beginner Crochet Pattern
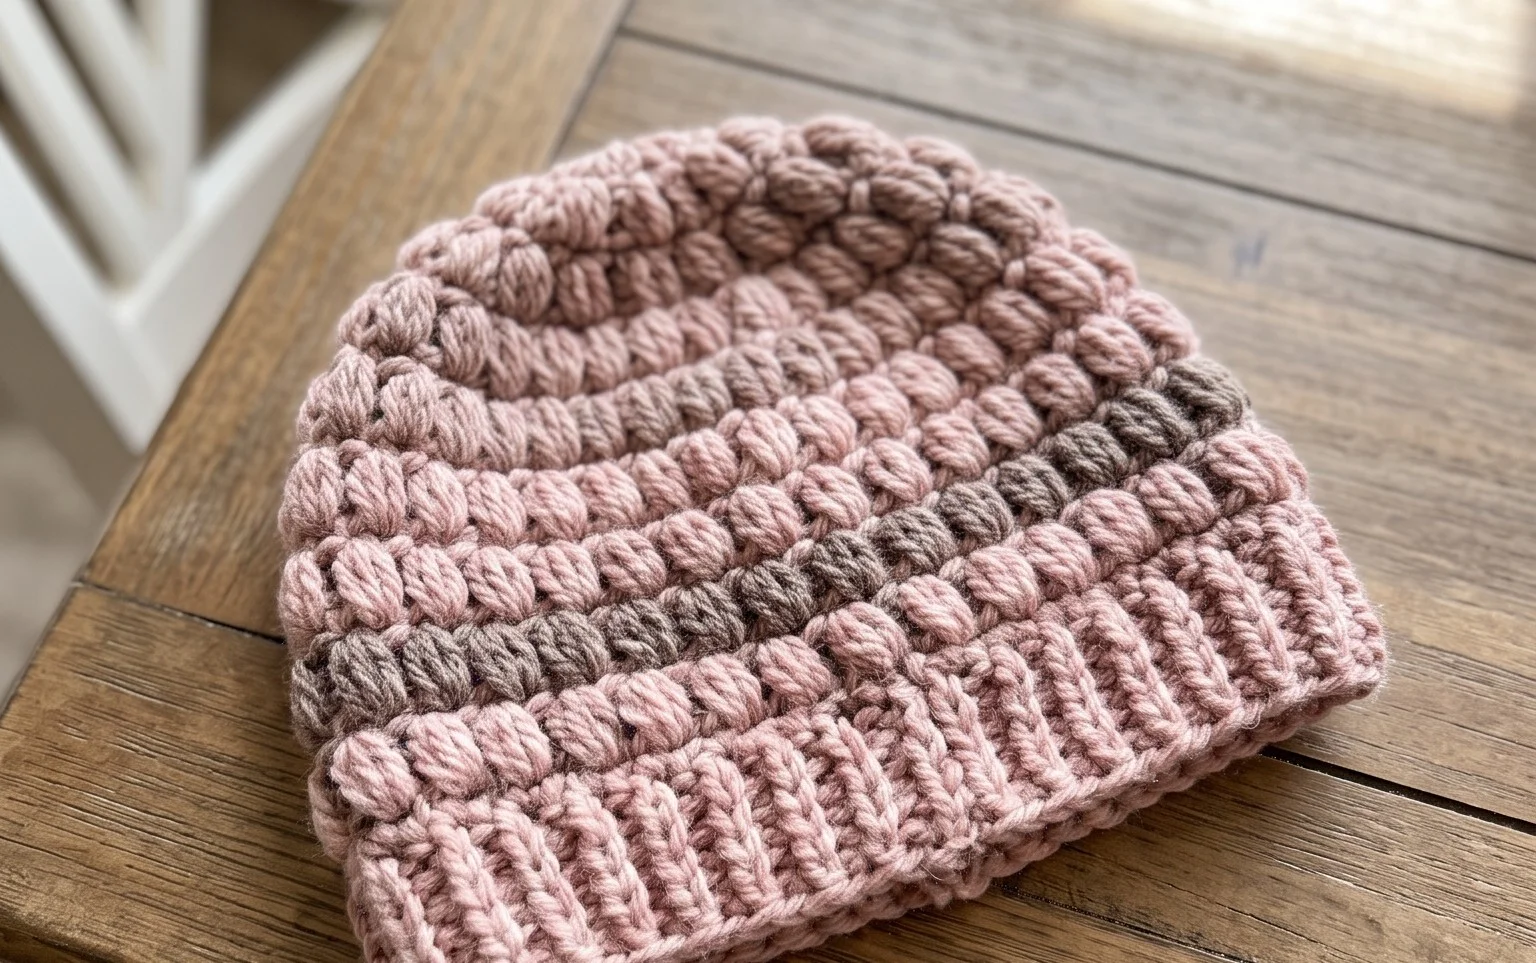
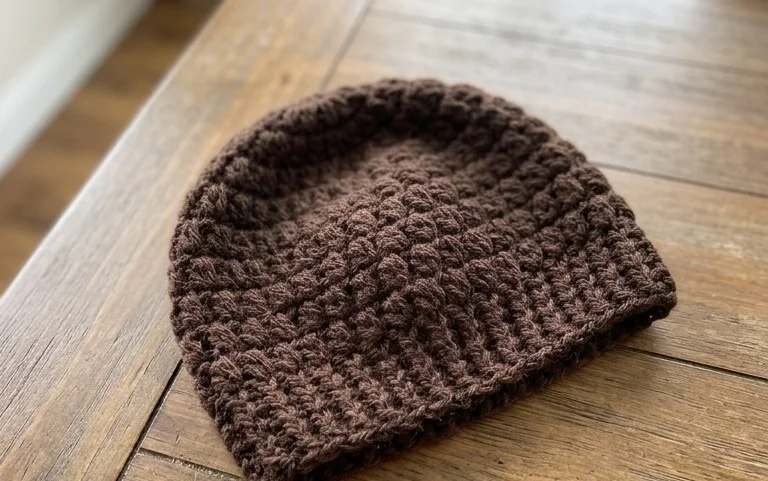
Soft to the touch and featuring a relaxed, modern silhouette, this slouchy beanie provides warmth without feeling heavy. It relies on a repeating stitch pattern that mimics the appearance of tiny beans, adding visual interest while remaining straightforward for someone just starting their crochet journey. Making this accessory feels rewarding because the stitch pattern grows quickly, allowing you to see progress after just a few minutes of work. You will learn to manage tension while working in rounds and how to achieve the signature slump at the crown, which ensures the piece hangs naturally when worn with casual outfits.
Why You’ll Love This Pattern
This beginner-friendly crochet coaster pattern uses a simple spiral construction, making it an ideal project for practicing basic circular increases without the distraction of complex color changes. Because it works up in under twenty minutes, you can easily produce a full set for a last-minute housewarming gift or to protect your coffee table from moisture rings. The dense texture created by the cotton yarn provides a stable surface that grips glass bottoms effectively. Additionally, the pattern is highly economical, requiring only a small portion of a standard cotton yarn skein, which makes it perfect for utilizing leftover scraps from larger projects.
I managed to finish a set of four coasters in just one evening while watching a show, and the instructions were clear enough that I didn’t have to look back at the screen once.
— Sarah, hobbyist crocheter
Pattern Overview & Skill Level
- Skill Level: Beginner
- Approximate Time: 15–20 minutes per coaster
- Construction: Continuous rounds worked in a spiral
- Finished Dimensions: 4 inches (10 cm) in diameter
Materials & Supplies Needed
- Yarn: Worsted weight (#4) 100% cotton yarn, approximately 15 yards per coaster. Cotton is preferred for its absorbency and heat resistance.
- Hook Size: 5.0 mm (US H-8) crochet hook.
- Notions: Tapestry needle for weaving in ends, a locking stitch marker to keep track of the start of rounds.
- Yarn Substitutions: Acrylic yarn can be used, though it is less absorbent and may melt if exposed to very hot mugs. Wool yarn provides a unique aesthetic but requires hand washing. Substituting weight will change the finished size; using a lighter yarn will result in a smaller coaster, while a heavier yarn will result in a larger one.
Stitch Guide & Abbreviations (US Terms)
- MR: Magic ring
- ch: Chain
- sc: Single crochet
- inc: 2 sc in the same stitch (increase)
- sl st: Slip stitch
- st/sts: Stitch/stitches
Step-by-Step Pattern Instructions
Coaster Body
- Rnd 1: Start with a MR, work 6 sc into the ring. Pull the tail tight to close the center. (6 sts)
- Rnd 2: Work 2 sc in each sc around. (12 sts)
- Rnd 3: 1 sc, inc repeat from * to * 6 times. (18 sts)
- Rnd 4: 1 sc, inc, 1 sc repeat from * to * 6 times. (24 sts)
- Rnd 5: 3 sc, inc repeat from * to * 6 times. (30 sts)
- Rnd 6: 2 sc, inc, 2 sc repeat from * to * 6 times. (36 sts)
Finishing
Once you complete Round 6, do not chain. Instead, make one sl st into the next stitch to create a smooth finish to the outer edge. Cut the yarn, leaving a 4-inch tail. Pull the tail through the loop on your hook and tighten. Use a tapestry needle to weave the tail through the back of the stitches, ensuring it is secure before trimming the excess. Repeat this process for the starting tail at the magic ring.
Care & Washing Instructions
- Machine wash in cold water on a gentle cycle to prevent shrinking.
- Lay flat on a clean towel to air dry, reshaping the circle with your hands while damp.
- If the coaster curls, dampen it slightly and place it under a heavy book for one hour to flatten.
Pro Tips & Common Mistakes to Avoid
Maintain consistent tension throughout the rounds; if you pull your yarn too tightly, the coaster will become rigid and bowl-shaped. Always place a stitch marker in the first stitch of every round, as continuous spirals can make it difficult to identify where one round ends and the next begins. When weaving in your ends, ensure you work the yarn back and forth through the fibers in at least two different directions to prevent the knot from unraveling during use. If you wish to make a larger coaster, continue the pattern by adding an additional round of increases (e.g., 5 sc, inc for Round 7), but keep in mind this will require slightly more yardage.
Frequently Asked Questions
Can I use a different yarn weight for this project?
Yes, you can use any weight of yarn, but you must adjust the hook size accordingly. A thinner yarn will result in a smaller coaster unless you add extra increase rounds to compensate.
Is this pattern suitable for someone holding a crochet hook for the first time?
This is an excellent project for beginners because it focuses on the most fundamental stitch in crochet, the single crochet, and basic circular growth patterns.
Can I sell the coasters I make from this pattern?
You are welcome to sell finished items made from this design. Please credit the pattern origin in your shop listings as a courtesy to the designer.
Why does my coaster look like a wavy potato chip instead of flat?
A wavy edge usually indicates you are increasing too often or have too many stitches for the row. Ensure your count matches the provided numbers exactly for each round to keep the fabric flat.
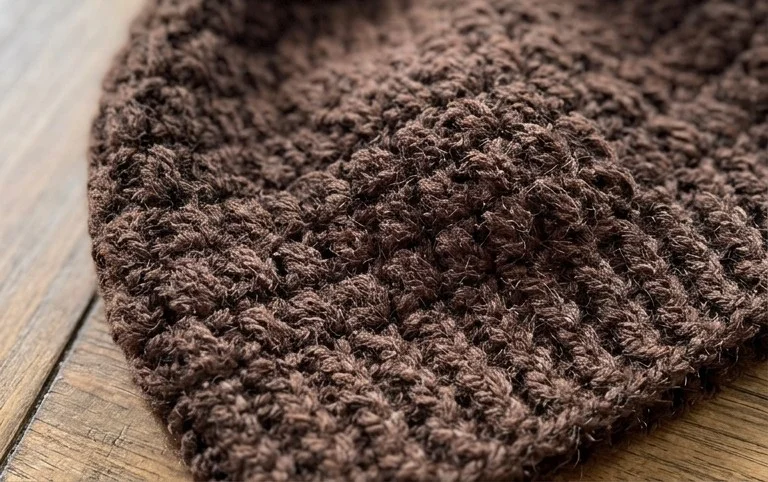
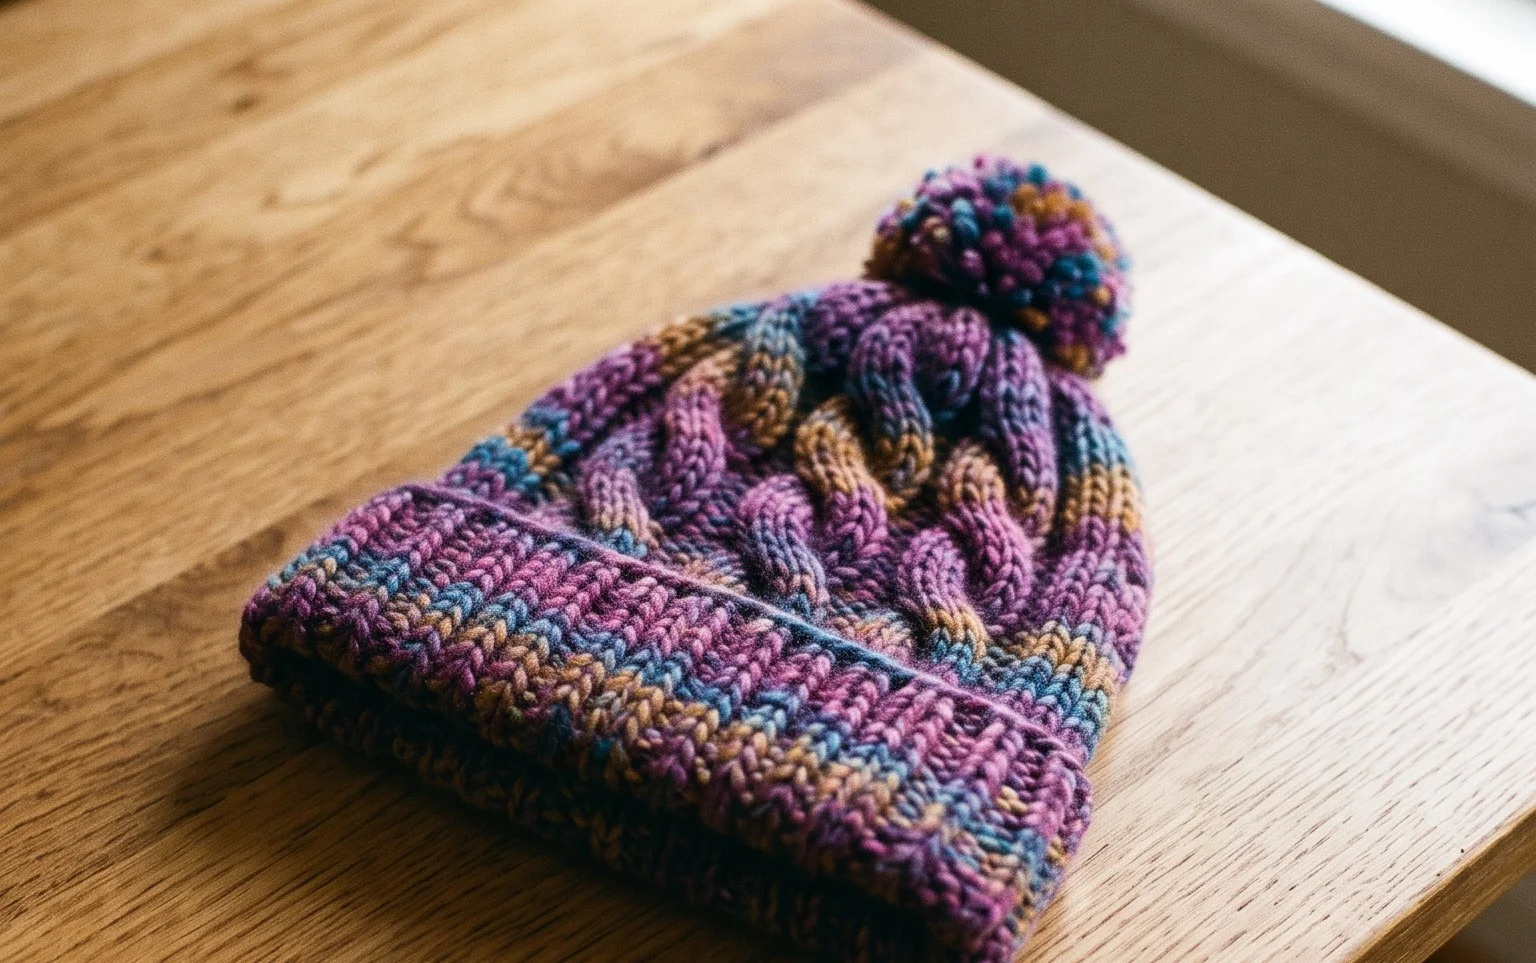
Wrapping yourself in a handmade accessory that you crafted from scratch is one of the most satisfying parts of this hobby. If you find yourself wanting a different aesthetic, try swapping your yarn for a variegated wool blend to create a unique color shift that makes each beanie look entirely one-of-a-kind. Posting a photo of your finished work on Instagram helps others see how different hues appear in this specific stitch. Please visit the rest of the blog to find more beginner-friendly designs for your next handmade endeavor.