Easy Crochet Witch Hat Pattern – Free Beginner Tutorial
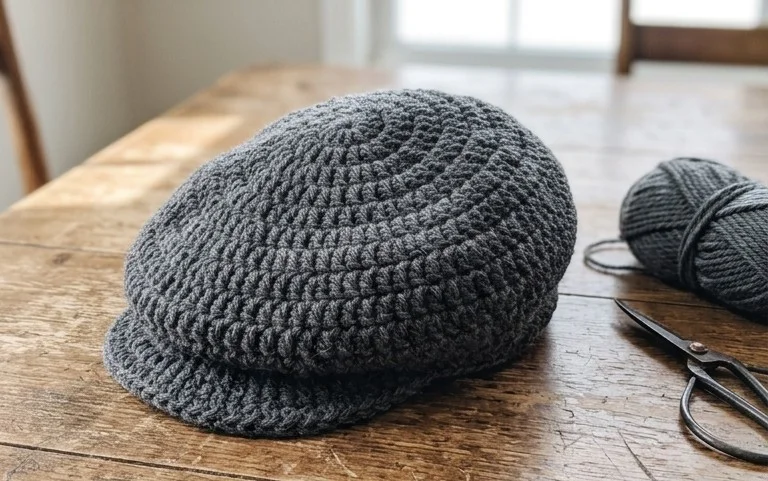
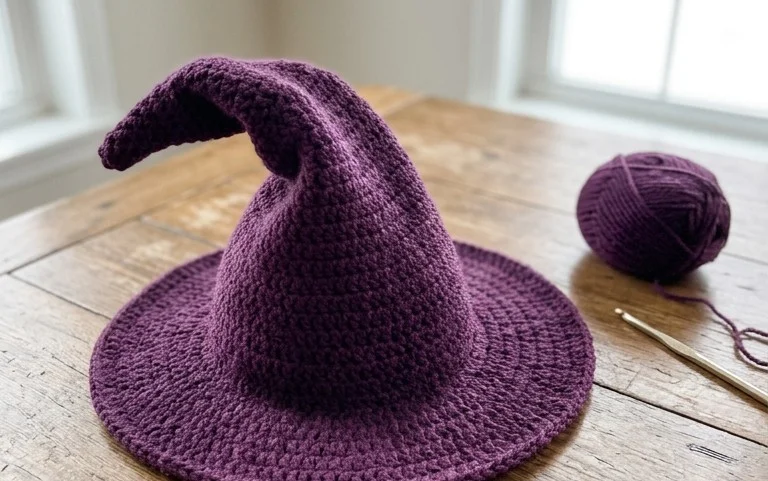
This slouchy, pointed hat captures the spirit of autumn with its deep, dramatic brim and soft texture that holds its shape through hours of wear. It feels incredibly cozy against the skin, making it a reliable addition to your seasonal wardrobe or a thoughtful gift for friends who love festive accessories. Because this project relies on basic stitches and a flat construction method, you spend less time worrying about complicated math and more time enjoying the rhythm of your yarn. You will learn how to create a structured silhouette using simple back-loop-only rows that provide plenty of stretch without losing form.
Why You’ll Love This Pattern
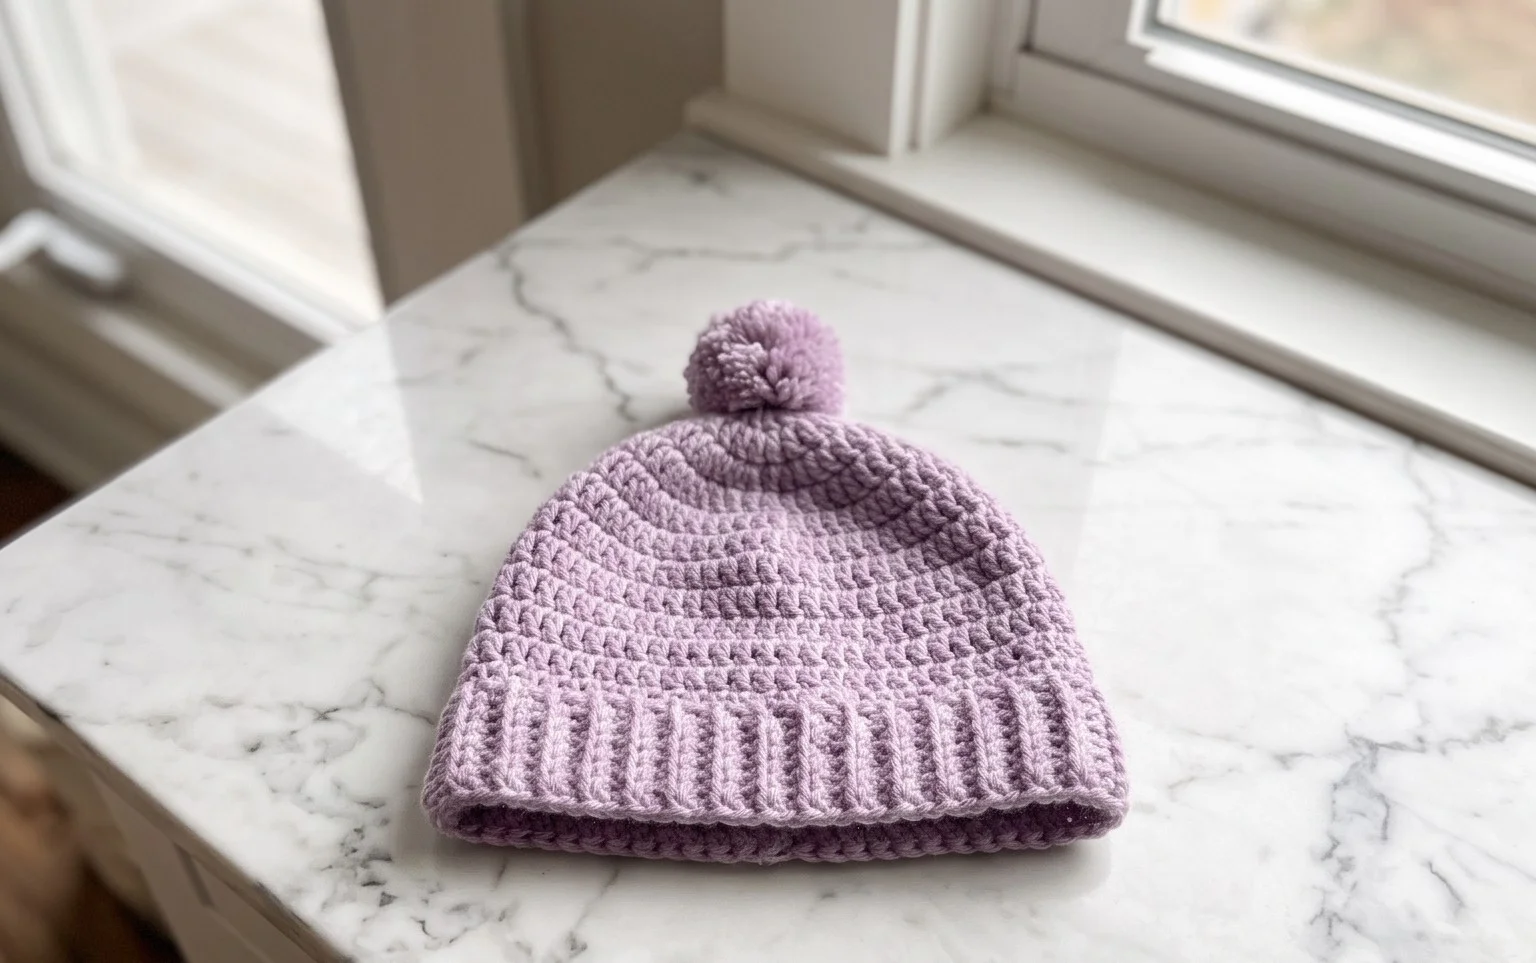
This crochet ribbed beanie pattern uses a simple back-loop-only technique that creates a professional, store-bought look with minimal effort. It works up quickly using half double crochet stitches, making it an ideal choice for last-minute gifts or stocking your market inventory. The stretchy fabric naturally contours to the head, providing warmth without feeling tight or restrictive. Because the pattern is worked flat as a rectangle and then seamed, you avoid the complexity of shaping rounds entirely, allowing you to focus on maintaining consistent tension.
I finished this hat in one evening while watching a movie. The texture is incredibly soft and it fits my head perfectly without sliding off.
— Sarah, hobbyist crocheter
Pattern Overview & Skill Level
- Skill Level: Beginner
- Approximate Time: 3 to 4 hours
- Construction: Worked flat in rows, then seamed to form a tube and gathered at the top
- Finished Dimensions & Sizing: 18 inches circumference (unstretched) by 9 inches tall; fits an average adult head
Materials & Supplies Needed
- Yarn: Worsted weight #4, 100% acrylic or wool blend, approximately 200 yards.
- Hook Size: 5.5 mm / I-9.
- Notions: Tapestry needle for seaming and weaving ends, locking stitch markers, scissors.
- Safe yarn substitutions: You may use a DK weight yarn for a lighter feel, but increase your starting chain length to match the desired height. A bulky weight yarn will result in a thicker, chunkier hat; you may need to reduce the number of rows to maintain the correct circumference.
Stitch Guide & Abbreviations (US Terms)
- ch = chain
- hdc = half double crochet
- st = stitch
- BLO = back loop only: insert hook under only the back loop of the stitch instead of both loops to create a ribbed texture
- sl st = slip stitch
- RS = right side
- WS = wrong side
Step-by-Step Pattern Instructions
The beanie is constructed by crocheting a rectangular piece that is 18 inches wide and 9 inches tall. You will work in rows back and forth along the height of the hat.
Main Hat Panel
- Row 1: Ch 35. Hdc in the third ch from hook and in every ch across. Turn. (33 sts)
- Row 2: Ch 2 (does not count as st), working in BLO, hdc in each st across. Turn. (33 sts)
- Rows 3–50: Repeat Row 2 until the piece measures approximately 18 inches wide when slightly stretched. Do not fasten off after the final row.
Assembly and Finishing
- Fold the rectangle in half, matching the foundation chain edge to the final row edge.
- With the WS facing out, sl st through the BLO of the last row and the corresponding starting ch of each stitch across to seam the sides together, forming a tube.
- Fasten off, leaving a 12-inch yarn tail.
- Thread the tail onto a tapestry needle. Weave the needle in and out through the stitches along the top edge of the tube.
- Pull the yarn tail tight to gather the top of the hat closed. Secure with a knot and weave in the end on the inside.
- Turn the hat right side out.
Care & Washing Instructions
- Machine wash your beanie on a gentle, cold cycle to maintain fiber integrity.
- Lay the item flat on a towel to air dry, avoiding direct heat sources that might shrink or misshape synthetic fibers.
- Reshape the hat while damp if it feels slightly flattened from storage or travel.
Pro Tips & Common Mistakes to Avoid
- Maintain consistent tension by ensuring your turning chains do not pull too tightly, as this can cause the edges of your hat to curl or shrink.
- Use a stitch marker on the first stitch of every row to ensure your count stays at exactly 33 stitches throughout the entire length.
- Weave your ends in by traveling through the stitches in multiple directions, which prevents the yarn from working itself loose over time.
- Adjust the size of the hat by changing the starting chain count. Adding more chains increases the height, while adding more rows increases the circumference.
Frequently Asked Questions
Can I use a cotton yarn instead of acrylic or wool?
Yes, but cotton has very little natural elasticity. If using cotton, choose a blend with nylon or elastic fibers to ensure the hat retains its shape and fit.
Is this pattern suitable for someone who has never held a crochet hook?
While this project is beginner-friendly, it assumes basic knowledge of how to hold a hook and make a foundation chain. If you are brand new, practice your hdc stitches until they look uniform before starting the full project.
How do I make the beanie larger for a looser fit?
Simply increase the number of rows worked. For every 2 extra rows, you add approximately 0.75 inches to the total circumference of the hat.
Am I allowed to sell hats made from this pattern?
You are welcome to sell finished items created from this pattern. I ask that you credit the pattern design to this website when listing your products online.
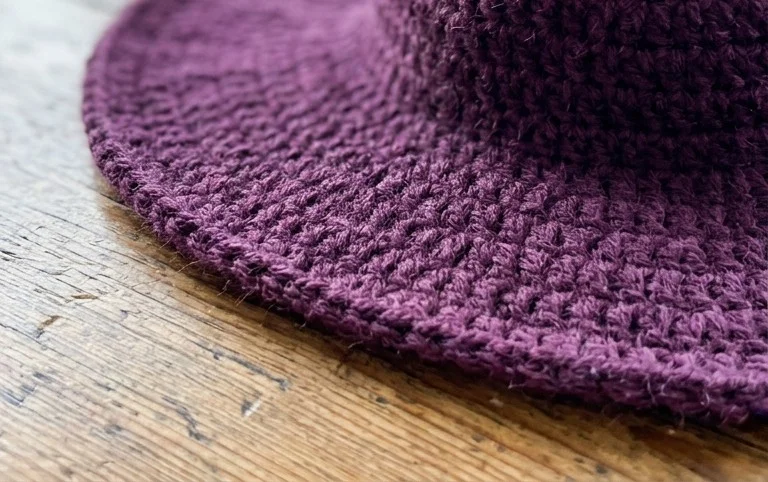
Seeing your handmade hat come to life after a few hours of work provides a real sense of accomplishment, especially when you pull on that first soft, finished piece. Try working yours in a deep charcoal or forest green wool for a subtle, natural look that wears well all autumn long. Please share a photo of your finished work on social media so others can see your color choices. You can find more free seasonal projects and detailed tutorials waiting for you on the main blog page.