Easy Crochet Dishcloth: Free Beginner Pattern & Tutorial
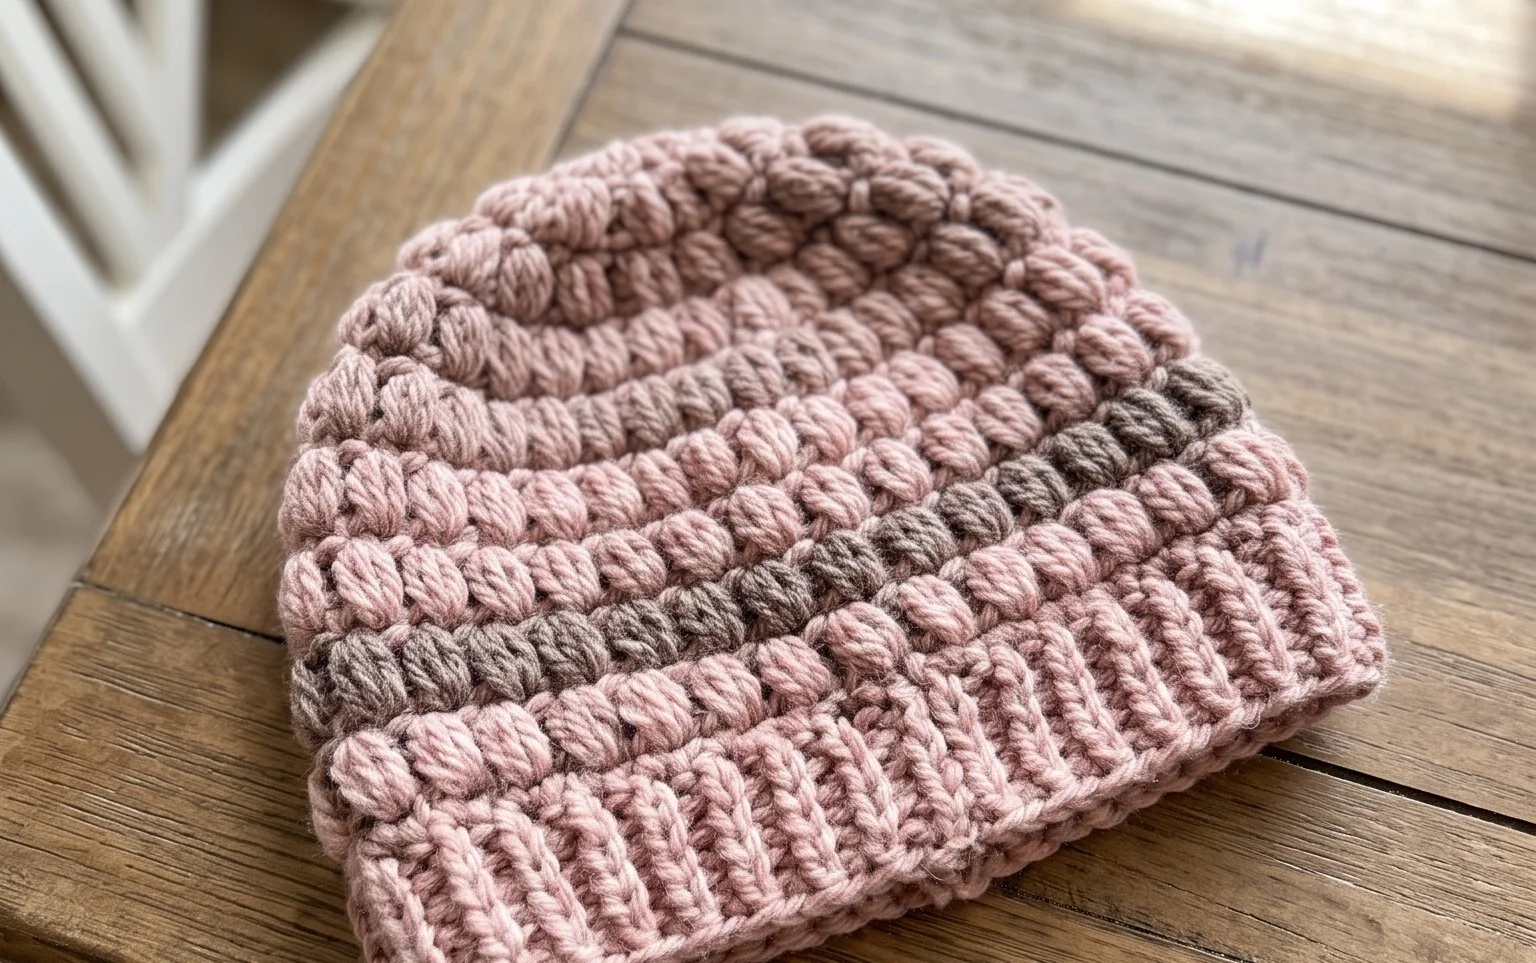
A stack of freshly crocheted dishcloths sitting by the kitchen sink offers a simple, tactile satisfaction that store-bought sponges cannot match. These small squares feel firm yet flexible, providing just enough friction to lift dried food residue while staying gentle enough for glassware. They suit those learning their first stitches as much as makers needing a quiet evening task. You will learn how to maintain consistent tension across your rows using basic cotton yarn. Working through this process turns a single skein into a reliable tool for your home that handles heavy scrubbing cycles without losing its shape.
Why You’ll Love This Pattern
The Classic Crochet Dishcloth is a functional staple that works up quickly using simple, rhythmic stitches. Because it uses a basic cotton yarn, it is highly absorbent and durable enough for daily kitchen use. This pattern relies on a repetitive stitch sequence that creates a dense, textured fabric perfect for scrubbing dishes. Beginners often find this project the ideal way to practice maintaining even tension, while experienced makers appreciate it as a reliable “mindless” project for relaxing in the evenings.
I managed to whip up a stack of these for my kitchen in just one afternoon. The texture is perfect for heavy-duty cleaning and they hold their shape beautifully after multiple trips through the washing machine.
— Sarah, home crafter
Pattern Overview & Skill Level
- Skill Level: Beginner
- Approximate Time: 45 to 60 minutes per cloth
- Construction: Worked in flat rows back and forth
- Finished Dimensions: 8 inches by 8 inches
Materials & Supplies Needed
- Yarn: Worsted #4 weight, 100% cotton, approximately 60 yards. Cotton is preferred for its heat resistance and absorbency.
- Hook Size: 5.0 mm (H-8) aluminum crochet hook
- Notions: Tapestry needle for weaving in ends, scissors, measuring tape
- Safe yarn substitutions: You may use a cotton-acrylic blend, though it will be slightly less absorbent than 100% cotton. Avoid wool or synthetic acrylic as they do not handle kitchen heat or heavy water saturation as effectively as cotton fibers.
Stitch Guide & Abbreviations (US Terms)
- ch: chain
- st/sts: stitch/stitches
- sc: single crochet
- dc: double crochet
- sk: skip the next stitch
- sl st: slip stitch
- Turning ch: The chain at the start of a row that brings your hook to the correct height for the next row.
Step-by-Step Pattern Instructions
Main Dishcloth Body
- Row 1: Ch 27. Sc in the second ch from the hook and each ch across. (26 sts)
- Row 2: Ch 1, turn. Sc in the first st. Dc in the next st, sc in the next st Repeat from * to * until the end of the row. (26 sts)
- Row 3: Ch 1, turn. Sc in the first st. Dc in the next st, sc in the next st Repeat from * to * until the end of the row. (26 sts)
- Rows 4–28: Repeat Row 3. Ensure your tension remains consistent so the edges stay straight.
- Row 29: Ch 1, turn. Sc in every st across the row. (26 sts)
Finishing
Once you reach the final row, cut your yarn, leaving a 6-inch tail. Pull the tail through the final loop on your hook to secure the knot. Use a tapestry needle to weave the tail back into the stitches on the back side of the cloth to ensure it does not come undone during washing.
Care & Washing Instructions
- Machine wash on a warm cycle, up to 104 degrees Fahrenheit, with similar colors.
- Tumble dry on a low setting or lay flat on a towel to air dry to prevent shrinkage.
- If the cloth loses its square shape, lightly steam or dampen it and pull into a 8×8 inch square while it dries.
Pro Tips & Common Mistakes to Avoid
Check your stitch count at the end of every row, specifically ensuring you have 26 stitches before turning your work. It is very common for beginners to accidentally drop the last stitch of a row, which causes the sides to slant inward. Use a stitch marker in the first stitch of every row to help identify where to place your final stitch on the return journey.
When switching yarn colors or starting a new skein, join the new yarn at the end of a row rather than in the middle. This makes the transition easier to hide during the finishing process. If you want a larger cloth, simply add chains in multiples of two to your starting foundation chain, though keep in mind this will require more than the suggested 60 yards of yarn.
Frequently Asked Questions
Can I use a different yarn weight for this pattern?
Yes, but you will need to adjust your starting chain count. Using a lighter weight yarn will require more chains to reach the 8-inch width, while a heavier yarn will require fewer chains.
Why are the edges of my dishcloth uneven?
Uneven edges usually result from missing the first or last stitch of a row. Counting your stitches after every row is the most effective way to identify and fix this issue before you get too far.
Is this project suitable for someone who has never crocheted?
This pattern is perfect for beginners because it uses only two basic stitches—the single crochet and the double crochet—repeated consistently throughout the piece.
Am I allowed to sell the dishcloths I make from this pattern?
You are welcome to sell finished items made from this pattern, but you must use your own photography and credit the original design when listing your goods.
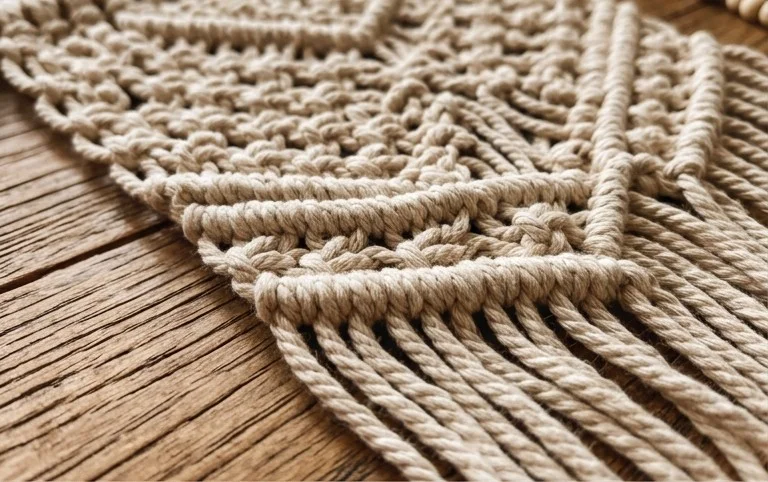
Your finished dishcloth gains character with every wash, becoming softer and even more absorbent over time. You might try alternating colors every few rows for a bold stripe effect or increasing your hook size to create a looser, airier mesh if you prefer a faster drying time. Posting a snapshot of your completed work helps others see the texture and color possibilities available for this project. Check the archives on this blog to find more beginner-friendly patterns that build your skills one stitch at a time as you grow your collection of handmade goods.